Appearance
Managing Collections
Collections are the core of Magpie. Each collection holds a group of related items — like your vinyl records, book library, or trading card binder.
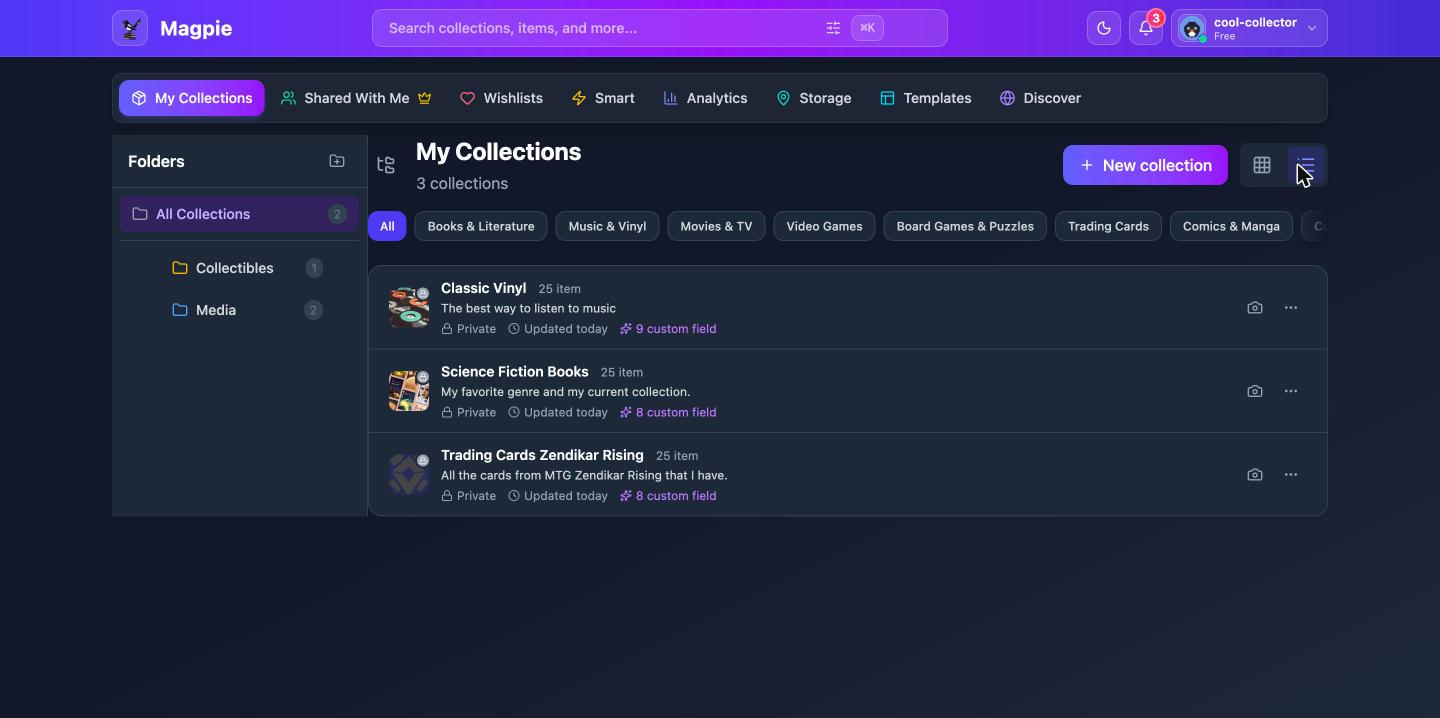
Creating a Collection
- From your dashboard, click the Create New Collection card
- Enter a name and optional description
- Optionally choose a Collection Type template to get pre-configured fields (see below)
- Click Create
To add a cover image, hover over the new collection's card and click the camera button (Upload cover image).
The kind of collection you create depends on which dashboard tab you start from:
- My Collections tab — A regular collection for organizing items
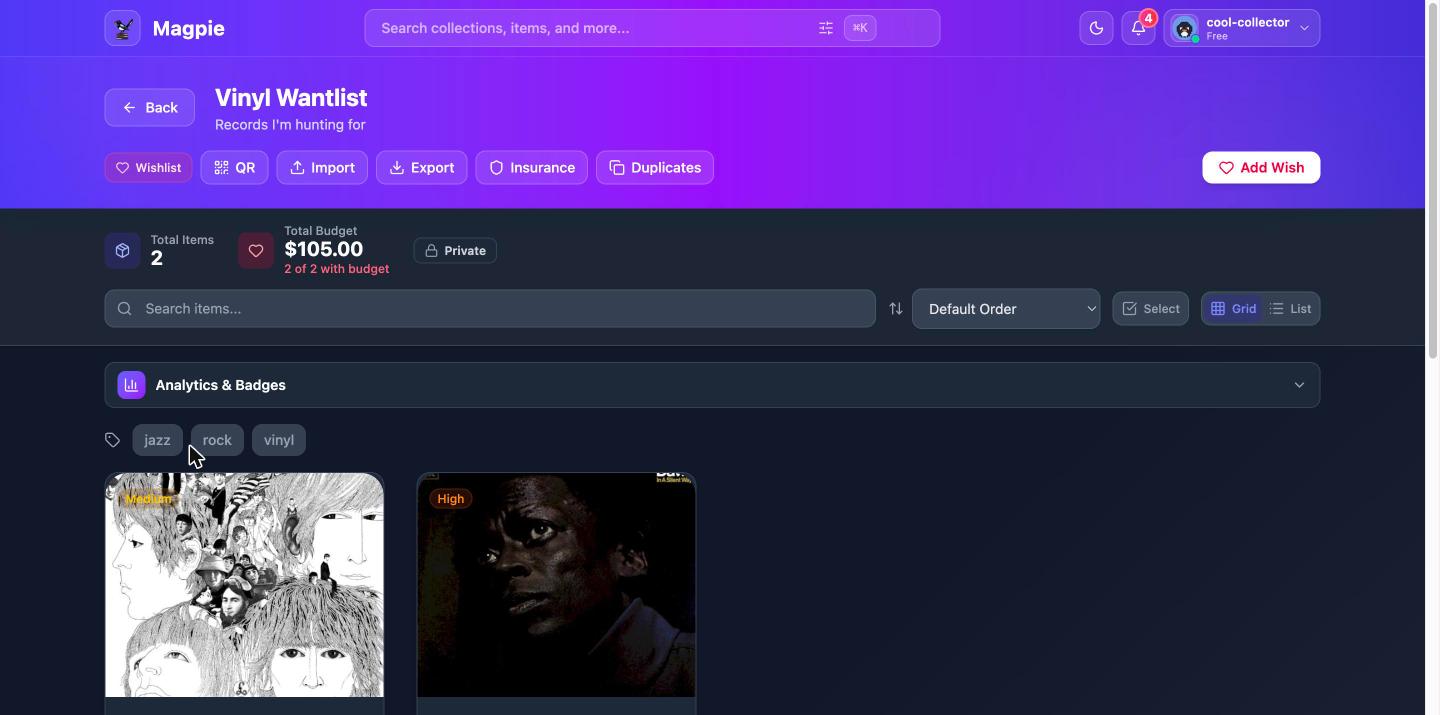
- Wishlists tab — A wishlist for tracking items you want to acquire
- Smart tab — A rule-based collection that automatically finds matching items (see Smart Collections)
Choosing a Template
Templates give your collection pre-configured fields that match common collection types. The Collection Type dropdown in the create dialog offers 22 built-in templates, grouped by category:
| Category | Templates |
|---|---|
| General | Basic Collection, Inventory |
| Entertainment | Book Collection, Vinyl Records, Movie Collection, Video Games, Board Games |
| Collectibles | Coin Collection, Stamp Collection, Trading Cards, Comic Books, Figurines |
| Art & Antiques | Art Collection, Antiques |
| Fashion | Watch Collection, Sneaker Collection, Handbag Collection |
| Hobby | Wine Collection, LEGO Sets, Model Kits, Plant Collection |
| Sports | Sports Memorabilia |
Each template comes with relevant fields like condition grading, artist/author, year, and other metadata specific to that collection type.
If none of the templates fit, you can create a collection without one and add your own custom fields.
Custom Fields
You can add custom fields to any collection to track the metadata that matters to you. Magpie supports 11 field types:
- Text — Short text input
- Text Area — Multi-line text
- Number — Numeric values
- Currency — Monetary values with currency formatting
- Date — Date picker
- Dropdown — Pick one from predefined options
- Yes/No — A simple toggle
- Rating — Star rating (1–5)
- URL — Web links
- Email — Email addresses
- Color — Color picker
To add custom fields:
- On your dashboard, click the ⋯ (More options) button on the collection's card and choose Collection Settings
- Go to the Custom Fields tab
- Click Manage Fields, then add fields by choosing a type and giving each a name
- Click Save
Assigning Categories
Categories help classify your collections and make them discoverable. You can assign up to 3 categories per collection from 19 options including Books & Literature, Music & Vinyl, Video Games, Trading Cards, Art & Prints, and more.
- Click the ⋯ (More options) button on the collection's card and choose Collection Settings
- Select up to 3 categories from the category picker
- Click Save
Categories also appear as filter pills on your dashboard, letting you quickly show only collections of a specific type.
Setting Visibility
Each collection has one of three visibility levels:
- Private — Only you (and anyone you've shared it with) can see the collection.
- Public — Anyone with the link can view your collection, but it won't appear on Discover, search results, or your public profile.
- Discoverable — Anyone can find and view your collection. It appears on the Discover page, in search results, in recommendations, and on your public profile.
To change visibility:
- Click the ⋯ (More options) button on the collection's card and choose Collection Settings
- Choose your preferred Visibility level
- Click Save
When you set a collection to Public or Discoverable, a shareable link is generated automatically. You can copy this link from the collection settings.
Editing Collection Settings
To update a collection's name, description, fields, or other settings:
- On your dashboard, click the ⋯ (More options) button on the collection's card
- Choose Collection Settings
- Make your changes across the available tabs (General, Custom Fields, Sharing)
- Click Save
To change the cover image, hover over the collection card and click the camera button (Change Cover Image).
Organizing with Folders
Folders let you group related collections together. You can nest folders inside other folders for deeper organization.
Creating a Folder
- In the folder sidebar on your dashboard, click the folder-plus icon (Create folder)
- Enter a folder name
- Optionally choose a parent folder to nest it inside
- Pick a color if you'd like
- Click Create
Adding Collections to Folders
Either:
- Drag and drop a collection card onto a folder in the sidebar, or
- Click the ⋯ (More options) button on the collection's card and choose Move to folder
Collections can belong to one folder at a time. Your folder structure is personal — if you organize a shared collection into a folder, it doesn't affect the owner's view.
Sharing Collections
You can share any collection with other Magpie users so they can view or help manage it.
- Click the ⋯ (More options) button on the collection's card and choose Collection Settings
- Go to the Sharing tab
- Enter the email address of the person you want to share with
- Choose a permission level:
- View Only — They can view the collection and its items
- Can Edit — They can also add and edit items
- Click Share
You can share a collection with up to 100 people. To manage or remove shares, return to the Sharing tab.
Public Sharing Links
Public collections have a shareable short link (e.g., magpie.services/c/collection-name-abc123) that you can send to anyone — they don't need a Magpie account to view it.
Viewing Shared Collections
Collections that others have shared with you appear under the Shared With Me tab on your dashboard.
Deleting a Collection
- Click the ⋯ (More options) button on the collection's card and choose Collection Settings
- Scroll to the bottom and click Delete Collection
- Confirm the deletion
Deleting a collection permanently removes it and all its items. This cannot be undone.